With the ongoing series we have provided for you so far using WePay, namely on how to add a donation tool and also on building an estore, we’re excited to continue further by walking you through creating an event onto your site. And, we’ll show you how to add it to your free website using the IconoSites website builder, a software that empowers any small business professional to build a website in minutes.
Signup for an eStore at WePay
1) Start by signing up for your free account at wepay.com. You’ll find that the website allows you to either use your Facebook account for signing-up or use the regular email sign-up procedure. I would recommend you using email sign-up just to keep your personal and professional accounts separate.
2) After the sign-up, you will receive a confirmation mail in your inbox. Click the confirmation link to confirm your account. On the other hand, on the wepay.com website, you will be prompted to enter your organization name. Fill in the text field and press ‘Create Account‘
3) After the account has been created, you will be shown 4 different options: Invoices, Events, Store and Donations. Since we are working on setting up an event, we will select the events module. Refer to screenshot for a clearer idea.
4) From there, fill in the information with an Event Name, a picture (if any), a Description, Address, Start/End date and time. Finally, when you’re ready, click on Next.
5) The following screen takes into consideration if your event requires a ticket or not. This can be set up simply by clicking on the ‘Add Ticket‘ button where you’ll then be able to fill out additional information to sell your tickets ahead of time. See screenshot below for details.
Alternatively, you can opt to not generate any tickets for the event by just ticking the box next to the label. From there, click on ‘Next‘.
6) The following screen is for premium members where the customization of the event is given. Since we’re using the free version for this tutorial, we’ll stick to the process and just click ‘Next‘ to continue.
7) We’re almost there as you just need to click on ‘Publish Event‘ to start promoting it.
Then on the next screen, click on ‘Save‘.
8 ) Now we have to embed the event into our free web page. For that, we need a widget. Click on the ‘Widgets‘ tab on the top menu bar and from the screen, select your ‘Ticket type‘ making sure that you choose the one you need.
Now, Head Back to the Website Builder Software
9) Since the main setup is done, just log into your IconoSites website maker account and add on ‘Add Page’ option in the bottom menu bar.
10) Give your page a name and leave it as Standard Page. From there, click on ‘Create‘ to continue.
11) With your web page created, scroll down towards the section for Your Page Content and click on the HTML button. This will allow you to embed your event code.
12) Paste the code into the HTML Source Editor and click on ‘Update‘ to save what you’ve inserted.
13) You should be able to see what you’ve pasted and from there, click on ‘Save & Exit‘ to retain your settings.
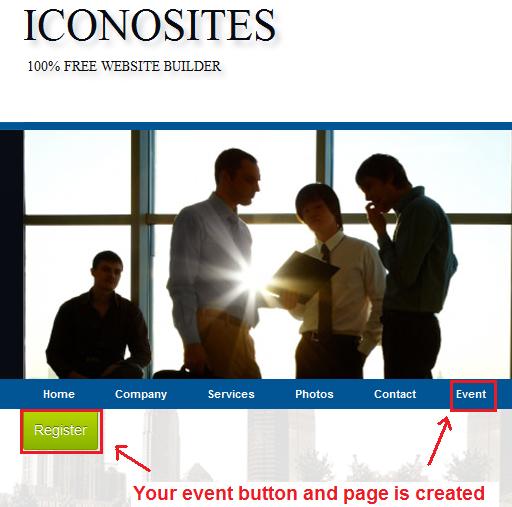
14) At this point, you can take a look at your small business website to see how the placement looks. You should have a Page as well as a button which gives your visitors a call-to-action to click on.
