
In this tutorial, we’ll show you how to make a website that plays audio files such as .mp3, .wav, etc. This is ideal for posting lectures, sermons, or music so that your listeners can peruse through and listen to the files you have made available to them. In this step-by-step guide, we’ll use the IconoSites website builder where anyone can build a website in minutes.
(Note: If you don’t want to use the professional music player in this example, you can simply upload your audio file and link to it (It will open a new page, and play the audio file once you click on it). To do this, skip steps 1&2 below, and just complete steps 3-10.)
1. Login to your IconoSites free website builder account, and go to your Header & Footer section.

2. Scroll down the page to the Site Wide Scripts feature. Then, in the BODY section, copy & paste this exact code: <script type=”text/javascript” src=”https://webplayer.yahooapis.com/player.js”></script> . See screenshot below.

3. Then, locate the web page that you would like to add an Audio file to, and click Edit. Scroll down to Your Page Content, and add some text into the Editor to describe your audio file. Then, highlight that text and click on the Create Hyperlink button. See screenshot below.

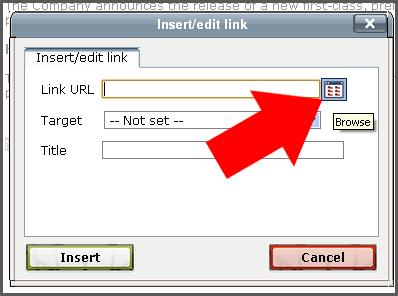
4. Then, when the “insert/edit hyperlink” window pops up, click on the Browse button. See screenshot below.
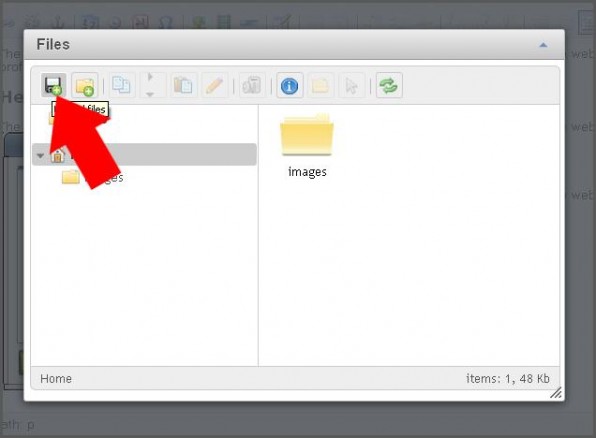
5. Click the disc icon button to add your audio file. See screenshot.
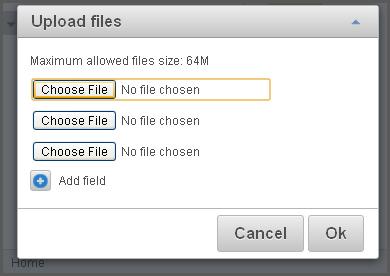
6. Then click the Choose File button.
7. Then, locate the audio file you would like to upload.
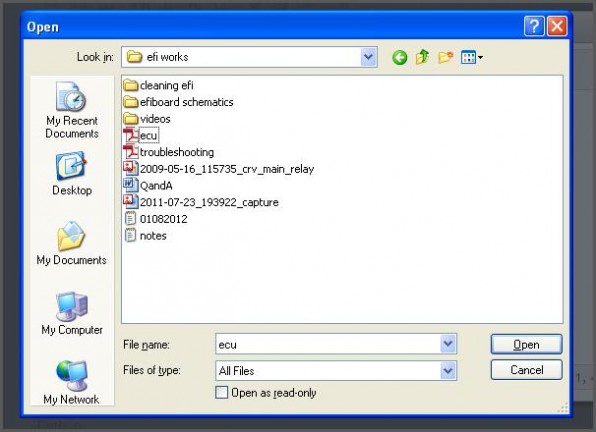
8. Once the document file is uploaded, select and double click the uploaded file.

9. Click the Insert button.
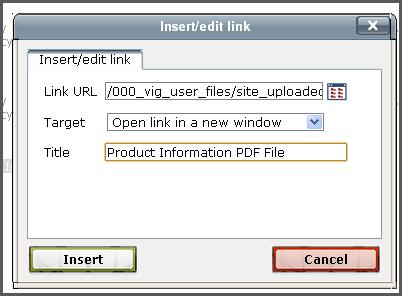
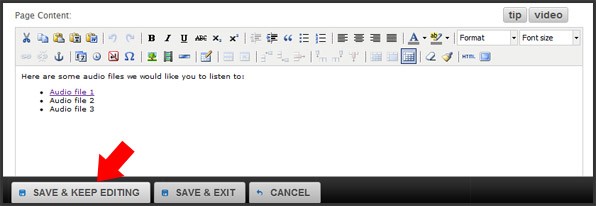
10. Lastly click SAVE button to finish.
11. Now, when people click on the link to play your audio file, a professional audio player will appear that immediately plays the file and allows the user to control it. See screenshot below.
